PrF UG inst creating an instance
Creating an Instance
Creating instances is part of the iterative process of developing a Protege-Frames project. Before you create instances, you need to have created and organized the classes and slots that model your knowledge base structure.
Creating instances can give you valuable information about the project structure and its applicability. As you add instances to your project, you may expose missing or redundant areas which tell you that you need to redesign some of the class/slot structure. However, as you move classes and create and delete slots, you may lose information in your instances. In addition, it is difficult to split a single instance into two or more instances. Therefore, you should not add an extensive base of instances until you believe the structure of your project is fairly stable.
This topic describes creating an instance from the Instance Browser, which creates the instance directly in the selected class. The following additional topics describe other ways to create an instance:
See the Instance fields for how to create an instance using the Create Instance (
 ) button
in an instance field.
See Creating Multiple Instances for how to create several instances at once, using the wizard on the Tools menu.
See Copying an Instance for how to copy an instance, using the Copy Instance (
 ) button.
To create a new instance from the Instance Browser:
Display the Instances tab.
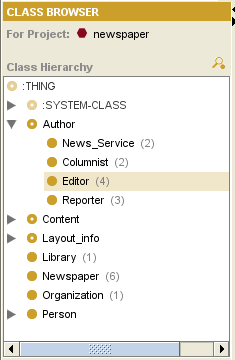
In the Class Browser, highlight the class where you want the instance to appear.
Click the Create Instance (
 )
button at the right
of the Instance Browser.
The new instance will appear in the Instance Browser.
It will have a default name, such as project_instance_1.
The Instance Editor at the right will display entry fields corresponding to the slots of the class where the instance was created. To create values for the fields, enter the desired information. For more information on how to edit field values, see the Standard fields.

