PrF UG inst add class type
Working with Instance Types
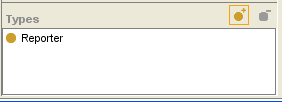
The Types pane, in the Instance Browser, allows you to add and remove types for an instance; that is, the classes for which the selected instance is a direct instance. Assigning multiple types to an instance allows you to build an instance which combines field characteristics from two or more classes.
Adding a Type
To add a class type to an instance:
At the Instances tab, select the class and instance you want. The classes where this instance is direct will be shown in the Types pane, at the bottom of the Instance Browser.
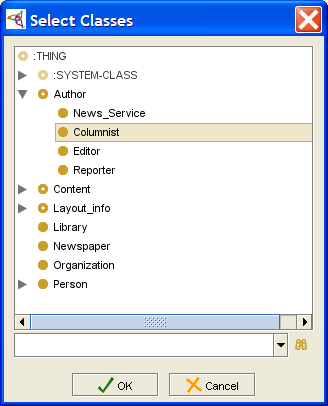
In the Select Classes dialog box, select the additional class(es) where this instance will be a direct instance and click OK.
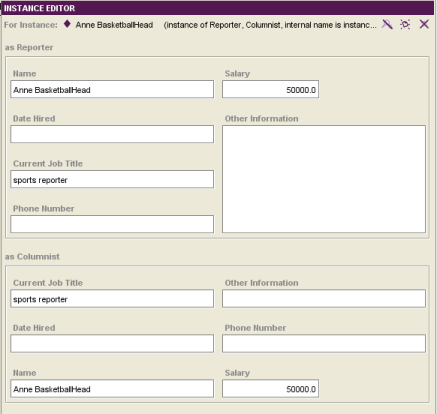
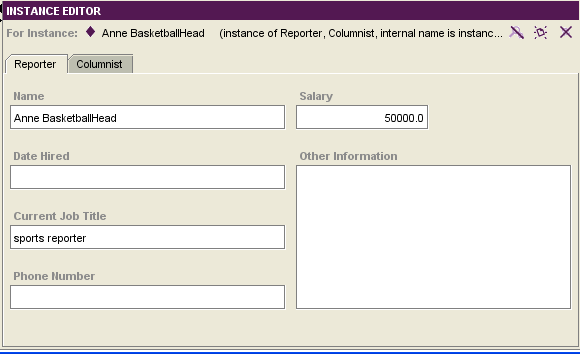
The class(es) are added to the direct superclasses of the instance. The Instance Editor will change to display multiple forms, one for each class type. Any shared fields will contain identical values. Editing a field value in one form edits the same field in all the forms where it appears.
Deleting a Type
For a multi-type instance, you can delete types. To do this:
At the Instances tab, select the class and instance you want. The classes where this instance is direct will be shown in the Types pane at the bottom of the Instance Browser.
Click the Delete Class (
 ) button
at the top of the Types pane.
Configuring the Instance Editor
You can choose how to display multi-type instances in the Instance Editor. Forms can be displayed one below the other on a single screen, or they can be displayed in a tabbed format. To configure the display for multi-type instances:
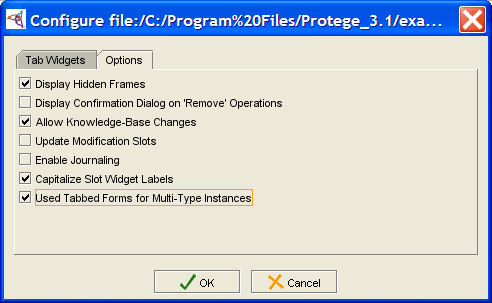
Select Project | Configure from the menu.
To display forms in separate tabs, make sure that Use Tabbed Forms for Multi-type Instances is selected. To display forms one below another in a single window (the default), make sure this option is deselected.
If the current instance is multi-type, you may need to click on another instance and then back on this instance to see the change.
