PrF UG projects creating a project
Creating a Project
There are two ways to create a new Protege project:
create a completely new project
create a Protege-Frames project from existing text files or from a table in a JDBC database
To create a project:
Create a new project:
create a project on startup by selecting Create New Project from the start-up dialog
or create a new project from the Protege window by selecting File | Create New, clicking the New Project
 button,
or entering Ctrl-N (Cmd-N).
The Create New Project dialog box will open.
button,
or entering Ctrl-N (Cmd-N).
The Create New Project dialog box will open.
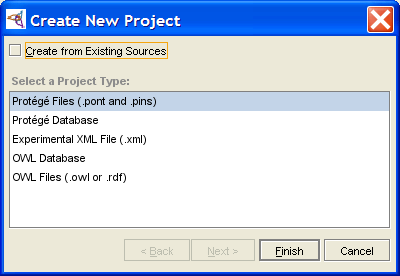 Create New Project dialog
The following project types support the Protege-Frames format:
Experimental XML Normally, unless you have a need for a specific structure (e.g., for exporting files), you would select Protege Files. If you wish to help the development of the XML backend, you can select Experimental XML.
To import a project from existing files, select Create from Existing Sources. You can create a project from existing files in Protege Files or Protege Database format.
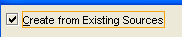 Create from Existing Sources checkbox (checked)
To create a new, empty Protege-Frames project, leave this unchecked (the default).
Click Finish. The Protege-Frames window will open and the standard tabs will become visible. An initialized knowledge base will be created, containing the system classes rooted in :THING. No instances will be created. You can now structure your project by creating your classes and slots. (See Creating a New Class and Creating a Slot for more information.)
To save the project to disk, select Save from the File menu.
Enter a name for your project in the Project line of the dialog box. This is the name of your project (.pprj) file. Protege-Frames also creates internal files for its own use. By default, these files are given the same name, with a different extension.
