Difference between revisions of "PrF UG files export clips"
| Line 33: | Line 33: | ||
If you want to save the file(s) in a different location from the default, | If you want to save the file(s) in a different location from the default, | ||
type the new location in the Output Directory line | type the new location in the Output Directory line | ||
| − | or click the [[Image:PrF_UG_all_object.add.gif|all_object.add]] button | + | or click the <b>Add</b> ([[Image:PrF_UG_all_object.add.gif|all_object.add]]) button |
to navigate to the desired location. | to navigate to the desired location. | ||
</p> | </p> | ||
Revision as of 14:14, October 20, 2008
Exporting a Project to CLIPS
The current version of Protege-Frames uses CLIPS (C Language Integrated Production System) as its internal file format. However, in order to support advanced Protege features, the CLIPS generated by Protege-Frames may not conform to the CLIPS standard.
You can export a conformant CLIPS view of your Protege project. This will not affect the format of your project; it simply produces a CLIPS file that reflects the project's current state. Note, however, that because of the limitations of CLIPS with respect to Protege, you may lose information during exporting. This means, for example, that if you re-import an exported file, it may not fully recapture the original project.
To export your project to CLIPS text files:
Select Export to Format from the File menu and select CLIPS from the submenu. The Clips Files to Export dialog box will be displayed.
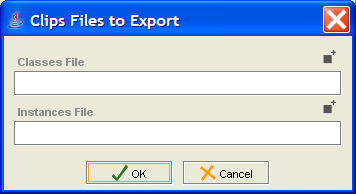
Enter the names for your classes and instances files. If you want to save the file(s) in a different location from the default, type the new location in the Output Directory line or click the Add (
 ) button
to navigate to the desired location.
) button
to navigate to the desired location.
Click OK. The CLIPS files will be created in the selected location.
