Difference between revisions of "Working with firewalls and proxies"
(Created page with ' =Working with a Proxy Server= '''In Progress''' Sometimes Protege will be running on a network that uses proxies to control access to the web (or something like that). These …') |
m (Tredmond moved page Getting updates from behind a firewall to Working with firewalls and proxies) |
(No difference)
| |
Revision as of 10:17, July 12, 2013
Contents
Working with a Proxy Server
In Progress
Sometimes Protege will be running on a network that uses proxies to control access to the web (or something like that). These proxies interfere with all web access so, for instance, web browsers need to be configured to use the proxy. While the Protege team cannot test this solution locally, it is said that this problem can be solved with the http.proxyHost and http.proxyPort jvm parameters. You will need to get the right proxy host and port information from your IT expert or by looking at the settings in your favorite (working) web browser. We include more detail below.
Thanks to David Jordan for supplying this information.
Non-OS X Operating Systems
Edit the Protege.lax file with a text editor. The required information can be included at the bottom of the lax file:
#   OSGI.CLEAN
#   ----------
#   clean cached data used by the OSGi framework

osgi.clean=true

http.proxyHost=corporate proxy host
http.proxyPort=corporate proxy port
OS X
Editting the Info.plist
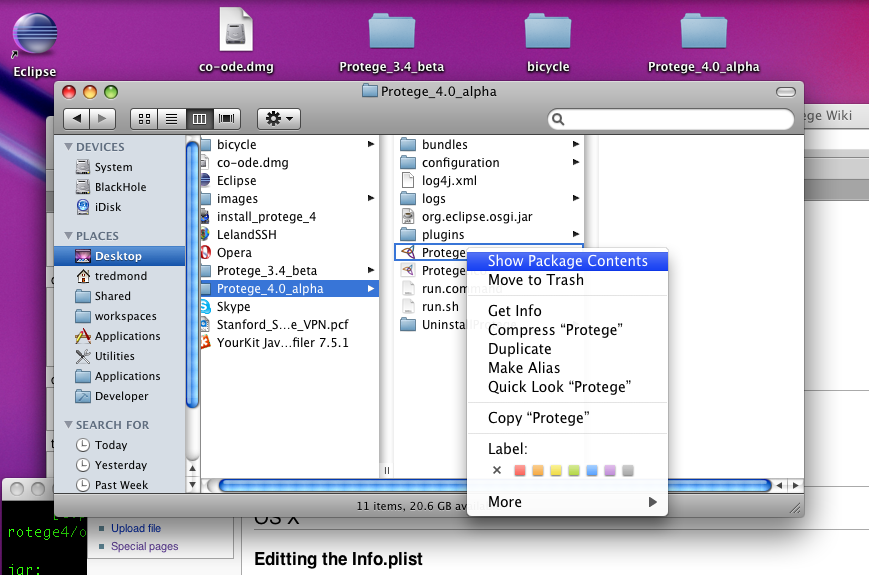
Navigate to the Protege 4 application in the finder and right click on the Protege 4 owl editor application. Select "Show Package Contents".
A new finder window will come up and in that window navigate to Contents and edit the Info.plist file in a text editor (alternatively you can use the os x plist editor by double-clicking if it is installed). Near the bottom of this file there are the lines
            <key>VMOptions</key>
            <array>
                <string>-Xms200M</string>
                <string>-Xmx200M</string>
                <string>-Dosgi.clean=true</string>
            </array>
Add the desired lines to this portion of the file
            <key>VMOptions</key>
            <array>
                <string>-Xms800M</string>
                <string>-Xmx800M</string>
                <string>-Dosgi.clean=true</string>
                <string>-Dhttp.proxyHost=corporate proxy host</string>
                <string>-Dhttp.proxyPort=corporate proxy port</string>
            </array>
Users with the zip file distribution
Edit the run.sh (or for windows users the run.bat) file and modify the -Xmx line:
java ${CMD_OPTIONS} -Xmx800M -Dosgi.clean=true -Dhttp.proxyHost=corporate proxy host -Dhttp.proxyPort=corporate proxy port -jar org.eclipse.osgi.jar
